Bongs have been around for centuries in some form or another. An elongated water pipe with one or multiple chambers that can be made with borosilicate glass or as a silicone bong, they’re a surefire way to get you super high.
But it will be a bit difficult to get high if you don’t know how to use a water pipe. Don’t worry, though, because we are here to help! Read on to learn all about how to use a water pipe.
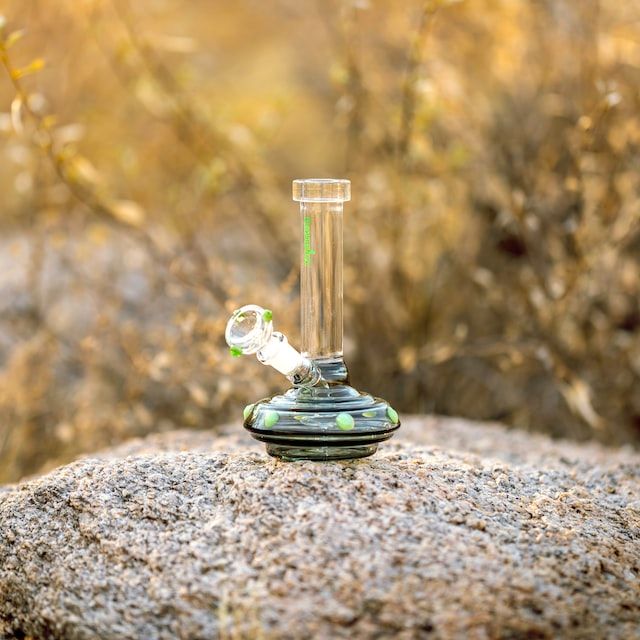
What is a water pipe?
What separates water pipes from other smoking methods is namely water filtration, which works by filtering the smoke and gives the user a smoother hit. All water pipes hold water in some regard to provide this filtration.
Bongs are the most common type of water pipe, but they aren’t the only ones. Any smoking device which has a reservoir for water or ice is considered a water pipe.
Dab rigs are smoking devices that are designed for smoking concentrates. Because the smoke passes through a water chamber, although you aren’t smoking ground marijuana, this type of pipe is referred to as a water pipe.
What are the components of a waterpipe and their functions?
Understanding the Components of a Waterpipe and Their Functions
1. Bowl/Slide: This component is essential as it serves as the container for the materials to be smoked, such as tobacco or marijuana. Users place their chosen substance in the bowl where it is then ignited.
2. Downstem: Functioning as a crucial passageway, the downstem channels the smoke from the bowl downward into the water. This action is fundamental for filtering and cooling the smoke.
3. Water Chamber: Located at the base of the waterpipe, the water chamber holds the water through which the smoke is filtered. As the smoke passes through the water, it cools down, creating a smoother inhalation experience.
4. Mouthpiece: Found at the opposite end of the water chamber, the mouthpiece is where the user inhales the smoke. It is designed to fit comfortably around the user’s lips, ensuring an airtight seal for effective smoking.
5. Carb (Carburetor): Not all waterpipes include a carb, but it is a small hole that allows the user to control the airflow within the pipe. By covering and uncovering the carb, the user can regulate the intensity and amount of smoke drawn from the chamber.
Each component plays a pivotal role in the functionality of a waterpipe, contributing to the overall smoking experience. Understanding these parts helps users operate their device efficiently and enjoy it safely.
Note: Dab Rigs will have a slightly different makeup than a bong water pipe. For these, you will see a nail instead of a bowl, and you will need to use a torch to heat the nail prior to applying your dab.
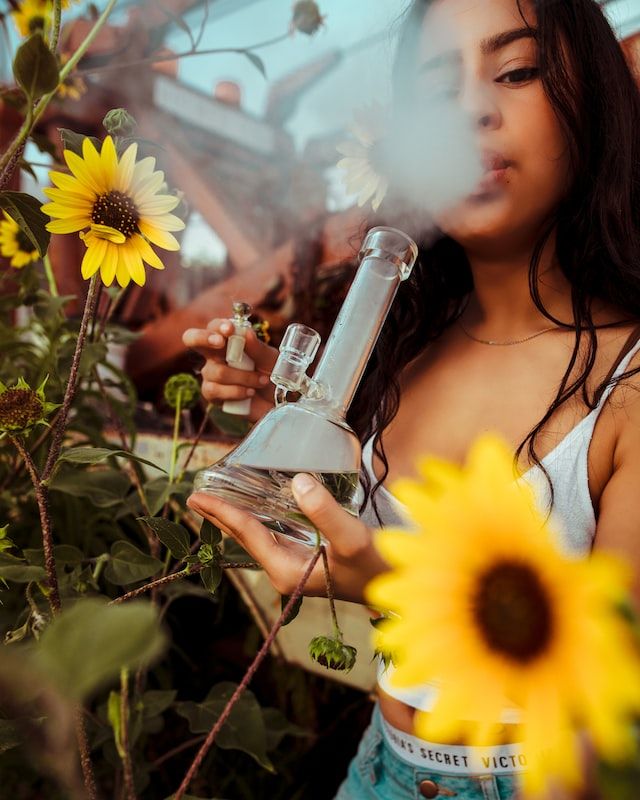
How to use bongs
Before you can begin smoking marijuana with a bong, it’s important you know how to use a bong. We are going to cover the entire process below in our step-by-step guide, from bong setup to smoking instructions.
Bong setup
There are 3 steps to proper bong setup:
Step 1: Clean Your Bong
You never want to start with a dirty bong, as this will lower the enjoyment of your smoking experience. Not to mention that dirty bongs can often smell unpleasant. A clean bong means you can enjoy a clean hit.
We recommend cleaning your bong after every smoking session using a cleaning solution (like isopropyl alcohol) and pipe cleaners to get all the small areas you can’t reach with your hand.
Simply pour the alcohol into the top of the water pipe, shake it up, let it sit, and rinse it out. Some stoners add salt to the alcohol to remove weed residue from the inside, but it’s not necessary. Don’t use salt if you have a fancy glass piece with tree percolators.
Use the pipe cleaners to remove any ash or buildup from the downstem or bowl that doesn’t come out using the above method. Keeping your bong clean, in general, will make it easy to clean for future uses.
Step 2: Fill the Bong
Once the bong is clean, fill it with enough water to just cover the downstem. Don’t fill it too full otherwise, you’ll find yourself breathing in hot water as you try to smoke. This is also the time to add ice cubes if your bong is equipped with an ice catcher or ice pinches.
If you’re using a percolator bong, you’re going to follow a slightly different process. First, use the top hole to fill the percolator with water, then fill the bottom water chamber using the downstem.
Have a percolator bong with an ice catcher? Add ice after filling the water. You’ll want to keep an empty cup nearby to empty some water as the ice melts.
Filling to the optimal water level will take some practice, but with time, you’ll get it right. There’s some trial and error involved, but it’s a fun experiment.
Step 3: Grind Weed
Before you can do anything else, you’ll need to grind some weed (or other smoking material) for you to smoke. If you already have some on hand, then skip to the next section.
Grinding your material gives you more bang for your bowl, as it increases the surface area of what’s being burned, rather than just igniting the outside of a nugget of weed. The more surface area that’s lit, the more smoke you’ll get. This results in more flower being burned and inhaled and an overall better smoking session.
Grinding up your weed takes a couple of minutes longer than just plopping a nug in the bowl, but it’s well worth the time for a better high.
If you are smoking from a dab rig, then prepare some cannabis extracts on the end of your dab tool.
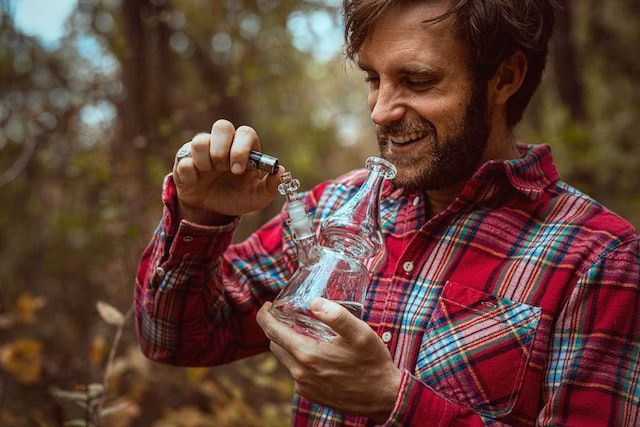
Bong instructions
Ready to learn how to use bongs? Here are the full instructions!
Step 1: Place the Bong
Place the bong firmly on a flat surface.
Step 2: Fill the Bowl
Fill the entire bowl with ground weed. Loosely pack the bowl by pressing it down with one finger. Add more ground weed if the entire thing isn’t full after packing.
Step 3: Light the Weed
Pick up the bong with your non-dominant hand. Pick up a lighter with your dominant hand and use it to light the bowl.
If your bong has a carb hole, it may be better to light the bong while it is still on the flat surface, as you will need to cover the carb hole with your free hand.
Step 4: Position Your Mouth
As soon as the bong is lit, you’ll want to put your mouth in the mouthpiece with your lips inside to create an airtight seal.
Step 5: Inhale
Remove your finger from the carb hole (or lift the downstem if your bong doesn’t have a carb hole) and take a few deep breaths to pull all the smoke into your lungs.
Step 6: Exhale
Hold the smoke in your lungs for a few moments, then exhale. Take a break or prepare immediately for your next hit.
Be cautious, as occasionally the bowl will stay lit for more than one hit–so ensure you check the bowl before setting down your bong.
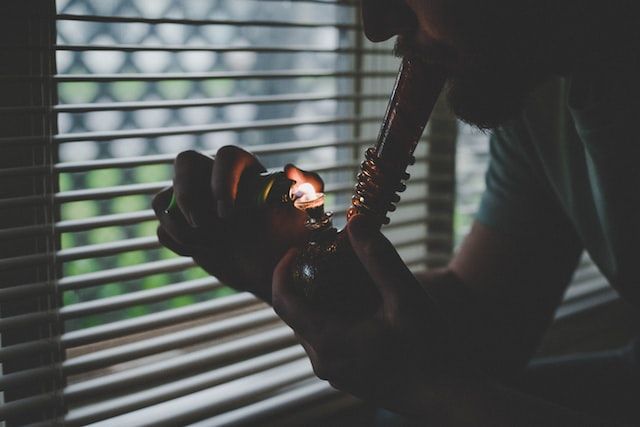
How to use a small water pipe
Learning how to use a small water pipe is similar to smoking a larger bong, but there are several small differences because this bong has less surface area. We’ve outlined the entire process below.
Step 1: Pack the Bowl
You’ll want to pack the bowl of the smaller bong the same way you would pack the bowl of a larger bong.
Step 2: Light the Bong
Because this bong is lighter, you likely won’t be placing it on a flat surface. Cover the carb hole (if there is one), and use a lighter to light the bowl.
Step 3: Deep Breath
As smoke moves towards the mouthpiece, position your mouth over it and pull it in through your lips. At the same time, you will want to release your hold on the carb hole or remove the bowl to pull air into the pipe.
Step 4: Continue to Inhale
Continue to inhale slowly, drawing more smoke into your lungs. When you can’t hold anymore, remove your mouth from the mouthpiece, keeping the smoke in your lungs. Release the smoke after a few seconds.

How to use a dab rig
As we mentioned above, a dab rig is a bit different. Here are the steps for using one!
Step 1: Fill to the Water Line
Fill your dab rig to the water line on the device.
Step 2: Heat the Nail
Heat the dab nail using a blow torch.
Step 3: Allow the Dab Nail to Cool
Allow the dab nail to cool for 30-40 seconds, then place the dab (using a dab tool) onto the hot nail.
Step 4: Inhale
Place your mouth over the mouthpiece and start to inhale. Cover the nail with a carb cap as you inhale.
Step 5: Exhale
Hold the smoke in your lungs for a few moments, then exhale. You can do your next dab whenever you are ready.
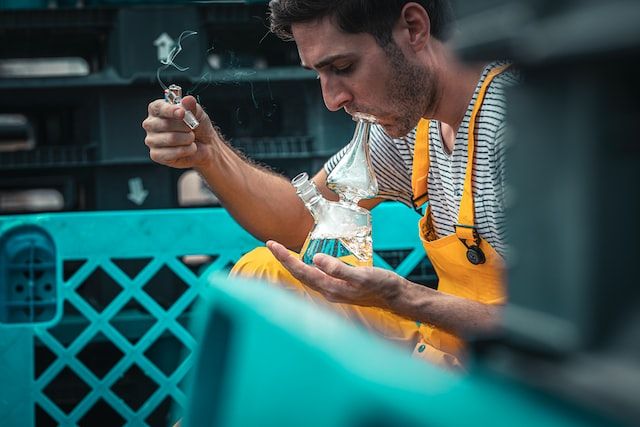
Tips for using a water pipe
If you’re looking to master the use of a bong, understanding both the technique and the maintenance will enhance your experience. Here are comprehensive tips ranging from lighting up to cleaning your bong:
1. Choosing the Right Bong
- Size Matters: “If you want to take big hits, then you should purchase a larger bong. The size of the bong is directly related to the size of your hits.”
2. The Lighting and Inhalation Technique
- Getting Started: Before lighting the bowl, ensure your herb is packed firmly. Grip the bong securely with your non-dominant hand and use your dominant hand to manage the lighter.
- Lighting Up: “Inhale the smoke slowly when you smoke with a water pipe, this will help you to better be able to tell when you’ve inhaled enough and keep you from coughing.” As you light the herb, start inhaling slowly to pull the smoke into the chamber. If your bong has a carb, cover it with your thumb or another finger to prevent smoke from escaping.
- Maximizing Inhalation: Once the chamber is filled with smoke, release the carb or pull the bowl out, and inhale sharply to draw all the smoke into your lungs.
3. Water and Maintenance
- Water Quality: “Use water that has gone through water filters in your bong, as this will help to keep limescale and other hard water stains from sticking in your glass bong.”
- Cleaning: “If you don’t have rubbing alcohol on hand, large-grain salt can also be used to clean a marijuana pipe. It is always good bong etiquette to clean a bong after you use it, especially if it isn’t yours.”
4. Bubbles and Myths
- The Bubble Theory: “Many people think having more bubbles in the bong water as they smoke is better. However, there is no proof having bubbly water changes the way smoke travels or any other aspect of smoking from a bong.”
5. Group Smoking Etiquette
- Ensure you clear any residual smoke from the bong between passes. Gently blow into the downstem (not the mouthpiece) to push any remaining smoke out, keeping it ready for the next user without mess or water spillage.
6. Stability and Safety
- Always place your bong on a flat, sturdy surface during use to prevent tipping. Alternatively, secure it between your knees if you’re seated to keep it steady.
These tips combine practical usage techniques with essential maintenance advice, ensuring a smooth and enjoyable bong-using experience, whether you’re a newbie or a seasoned enthusiast. Keep these pointers in mind to optimize your sessions and maintain your equipment in top condition.
Conclusion
Overall, using a water pipe is a bit of a learning curve that may take you some time to get used to. But if you practice a bit, pretty soon, you’ll be smoking weed like a pro!
Ready to buy a bong? Whether you are looking for mini bongs that you can slip into your pocket or a cute bong to impress your friends, we have them all. Head over to our bongs page to check out the full array of water pipes that we offer!
How to use a water pipe FAQ:
How do you fill water pipes?
Fill a water pipe by removing the downstem and adding just enough water through this hole to cover the end of the downstem when it is replaced. You can also fill a water pipe through the mouthpiece.
How do you use a water bottle pipe?
A water bottle bong works the exact same as any other type of bong, just be sure you remember to cover the air holes with your finger as you light the bowl.
How do you use a handheld bong?
Using a handheld bong can be slightly more difficult than one which can be placed on a flat surface. This is because you must balance holding the bong while also covering carb holes and using a lighter or hemp wick to light the bowl.
How do you set up a water bong?
Setting up a water bong typically takes a few steps. One of these steps is to grind the weed, giving it a good shake to get rid of any non-weed particulate matter. The second step is to ensure your bong is clean and to fill the water chamber with enough water to cover the end of the downstem.

